Monday 28 February 2011

Workshop 4

In this workshop, we were shown how to use digital and film cameras. The cameras we looked at were the Nikon FM2 and Nikon D60.

We looked at how the aperture, shutter speed and ISO all work together to create a photo with the correct exposure.

Aperture is the hole inside of the lens which can be adjusted to be bigger and smaller. It controls the amount of light that reaches the film and has an effect on the depth of field (the amount of the photo that is in focus around the main point of focus) The different sizes of aperture are called f stops, the most common being f2.8, f4, f5.6, f8, f11, f16, f22 and f32. The smaller the f number, the greater the amount of light and smaller the depth of field. The larger the f number, the smaller the amount of light and greater the depth of field.

Shutter speed controls the time the shutter is open and therefore the amount of light that hits the film. It is measured in fractions of a second such as 1/60, 1/30 and 1/15. 1/60 will let in less light than 1/15 as it is opened for a shorter amount of time. A faster shutter speed will reduce any blurring from movement of the subject or camera.

ISO is the speed of the film and indicates how sensitive the film is to light. The main ISO ratings are 100, 200, 400, 800 and 1600. A higher and faster ISO such as 1600 will make the image more grained.

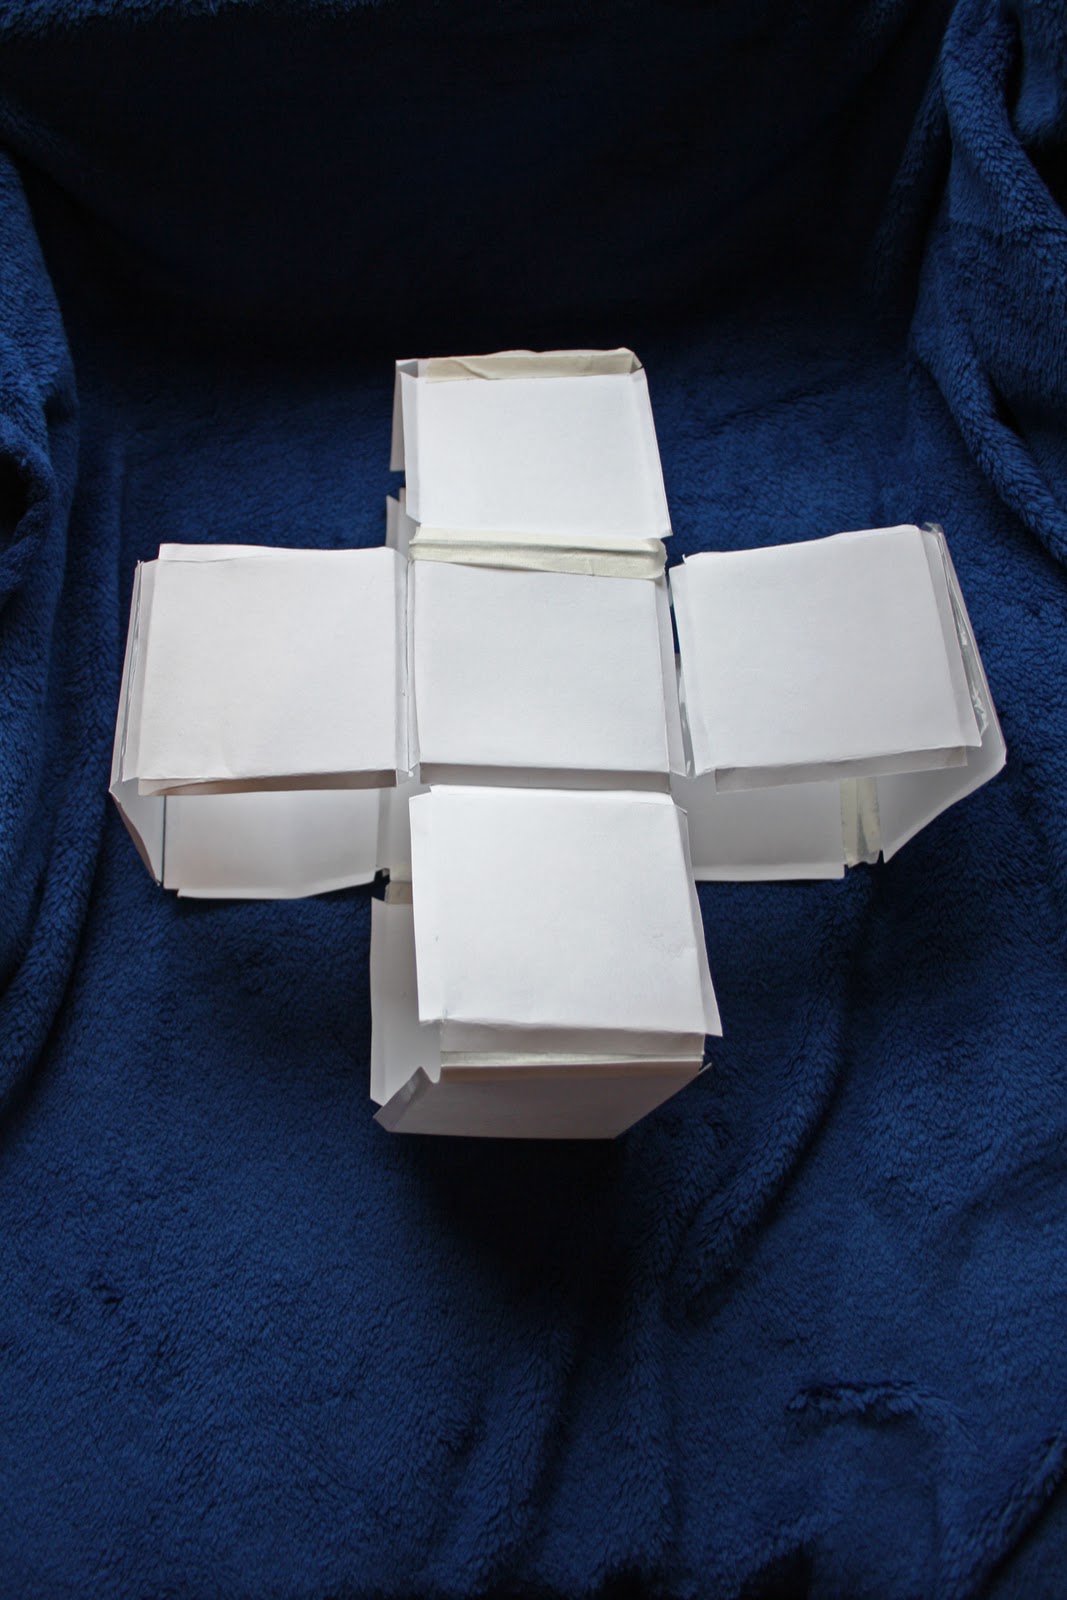
Using my own digital camera, a Canon EOS 1000D, I used what we had learnt to take photos of an origami lily I had made.

This is over exposed making the lily and foreground too white
 
This image has more depth than the last one and the lily contrasts much better with the blue background. It is also more in focus. I wasn't pleased with either of these photos as they don't show enough detail in the lily with the folds.

This image has the correct exposure. The lily contrasts well with the background and you can see the shadows on the petals.

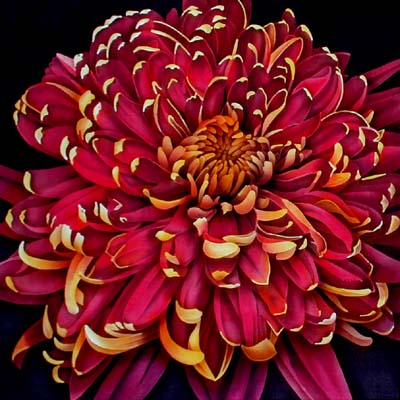
 Robert J.Lang is an American physicist and one of the worlds leading origami artists. I really like his work as it is amazing how he has managed to create such realistic creations out of just one uncut sheet of paper. 
Here are some examples of his work.


Another origami artist is Craig Sonnenfeld who creates origami out of $1 bills. I find these very impressive as it must have been hard to create such small and detailed models without cutting the bills, especially as they are very different shapes to those normally used to create origami. Here are examples of his work:


Friday 25 February 2011

Workshop 3

For our third workshop, we had to use different shapes and create repeating patterns.

I began by cutting out squares and sticking them together in a row of 8. I then added 3 squares to the left of the 4th square and 4 squares to the right, before sticking them together, creating a rectangular shape. I chose to use squares as they fit together exactly and can create symmetrical shapes.


I was then able to manipulate the design into other shapes.


I then created this shape out of small equilateral triangles. The triangles are similar to the square shape I created as they are regular shapes which all fit together exactly.


These shapes remind me of crystal forms. I have decided to focus on natural forms for my final design.


I was also shown how to do laser cutting. We watched a demonstration showing us how to cut out shapes and also etch using lasers onto paper. I think that laser cutting is really good for creating accurate and detailed cut outs and I was amazed at the preciseness of the cutting.

Monday 7 February 2011

Workshop 2

For our second workshop, we were given A2 pieces of paper to work with. We had to cut it in half lengthways, make a 1.5cm border and then cut lines 1cm apart all the way up the paper. This time we were allowed to tape and glue the paper together.

We then had to manipulate the paper in various ways to create different sculptures. I created 3 different designs which I took home where I could photograph them against a blue background with good lighting.

This is my first sculpture. I focused on curving the paper around. The shape and curvature makes a more organic form making the sculpture reminiscent of a shell.


For my second sculpture I rolled up the paper and taped together alternating segments. It reminded me in a way of a Chinese paper lantern.


For my final design, I folded the paper in half before curving it around. I think this sculpture looks like a sea anenome or a chrysanthemum flower, with each fold looking like a petal.


Paper engineer and architect Yoshnobu Miyamoto from Japan creates many designs, also with similar lines to those I have worked with today. Here are some examples of his work:


I like his work as it is very intricate. I also like his use of light in one of the sculptures to create different colours and shadow.